If you are an operator at a cargo company and would like to create a nomination in the Navarik Interface, follow the steps outlined below:
1. From the Dashboard, navigate to the Trips menu and click on the Nominations page:
2. On the Nomination view all page, click the Action menu tab, and select "Create Inspection Nomination"
3. Select the type of nomination, or select a nomination template and click "Select"
4. On the nomination form fill out all the required fields (all fields with a red asterisk are mandatory) Select the Inspection Company and the Hub Office
5. Enter the cost allocation; select yes for Quantity or Quality or both, and select yes for Time Log if required.
NOTE: If you would like to create a multi-parcel nomination (multiple parcels/inspection worksheets that are organized under the same nomination number) you can do so by selecting the drop-down arrow on the right-hand side found on the parcel:
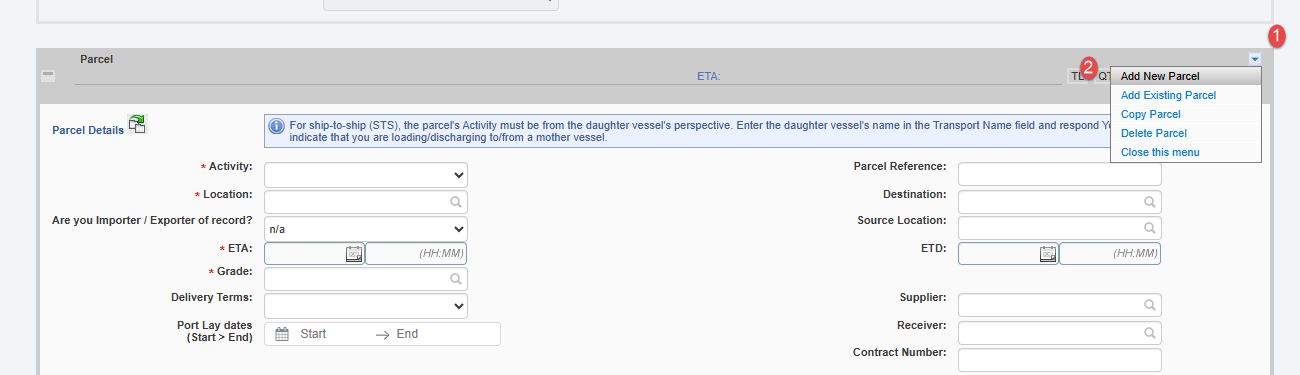
The below articles will help expedite the process of creating a multi-parcel nomination:
see: Copy a Parcel
The reason why you want to use the same nomination number comes down to invoicing - if you expect the inspection company to submit a consolidated (linked) invoice, the parcels must share the same nomination number.
see: Linking Worksheets to One Invoice
Once a nomination is issued, the nomination number can no longer be changed.
6. Once all the required fields have been entered, you can attach any required documentation in the Attachments section by clicking "Choose File"

7. click Save and Issue from the bottom of the page to issue the nomination:
